Welcome to the first in a series of articles showing you how to make gaming tiles and terrain for Dungeons and Dragons and other related games like Gloomhaven, Frosthaven, etc.
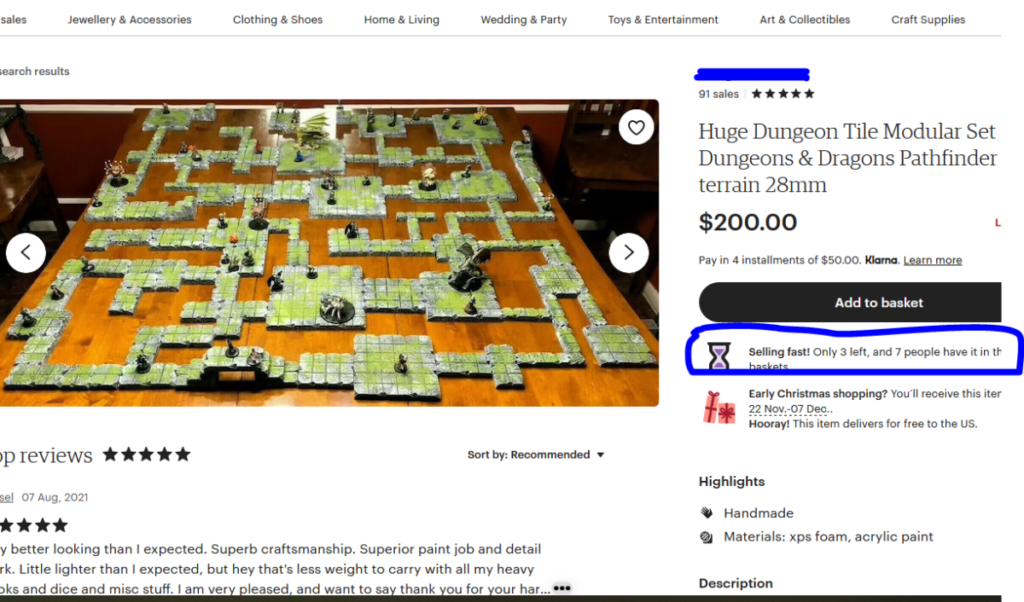
If you are serious about making some serious money then you can’t go wrong here with this idea. Currently, 72 piece sets (at time of writing) of XPS foam terrain and tiles sell for around $250 on Etsy and because of its specialized nature, there are not that many crafters selling this and the market is huge!
If you are wondering about the base cost of this set then imagine a sheet of XPS foam bought from somewhere like Home Depot, this sells for around $35 and can be cut into 3″ x 3″ tiles, given that a sheet of XPS is 48″ x 72″ x 2″ you can get around 1,536 tiles cut from a single sheet making them about $0.04 each.
If you then take into account that walls and doorways will use up around 4 times as much foam then factor in a cost of around $0.16 for a wall section. Doing some rough math with 24 tiles and 48 wall sections you will get a base price of $8.64 for just the foam. Once you add the extra costs of glue, paint, and other materials then you can expect to spend around $25.
Another set of 25 x 3″ x 3″ tiles on sale was $75 dollars making the tiles $3 each. As they cost about $0.30 to make the markup is quite good.
Just take a look at this set here. $200 and the seller cannot make them fast enough!
So how do we get started?
Method
Let’s go through it one step at a time so we can see how we can make these tiles exactly.
Firstly we need to measure our tiles. The standard size tile for 28mm miniatures is 1″, which represents 10′ in scale.
In this tutorial we are going to make 3″ x 3″ tiles but you can also make 3 x 1, 2 x 2, 6 x 6, or 3 x 1, 2 x 6, etc.
The only limit is your imagination and what gamers generally want for their gaming experience so do a little due diligence, pick the most common sizes, get crafting and bring home the bacon!
So let’s measure our foam:
Measure Foam and score a 3″ line and cut
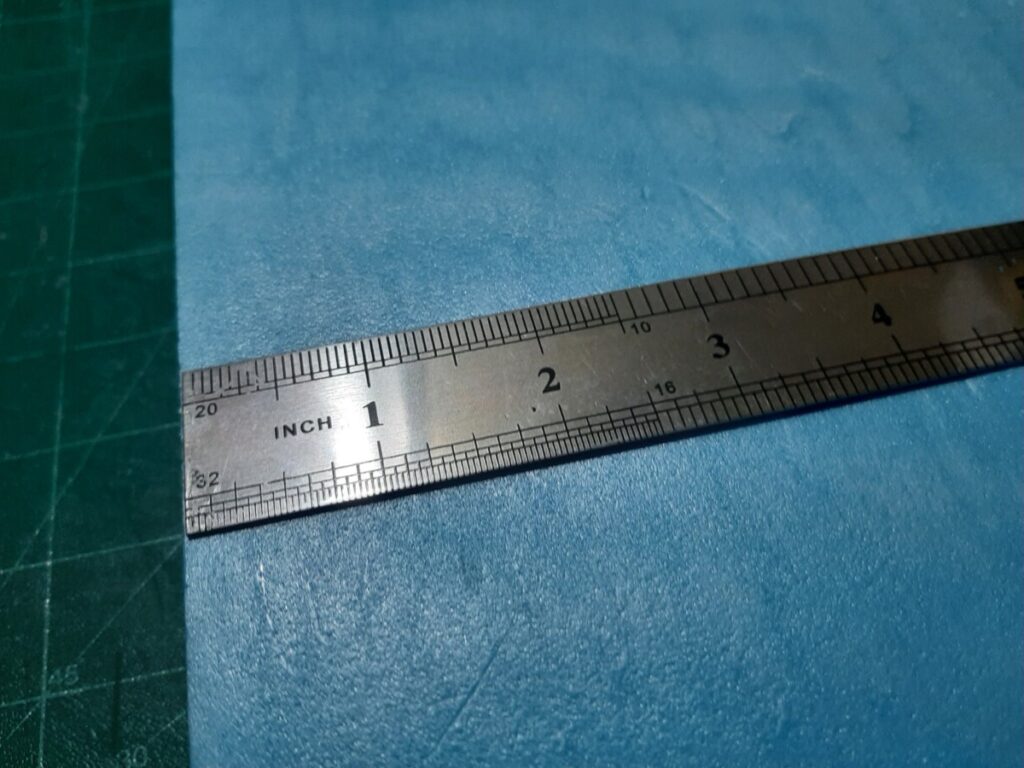
Once we have measured 3″ then we can cut our foam using either a packing knife or for more precision you can invest in a hot wire cutter to speed up the process. I got mine from Amazon check it out here
It’s an easy investment if you are looking to make these as part of your crafting business as they can cut perfect tiles each and every time.
Cut foam into 3″ squares
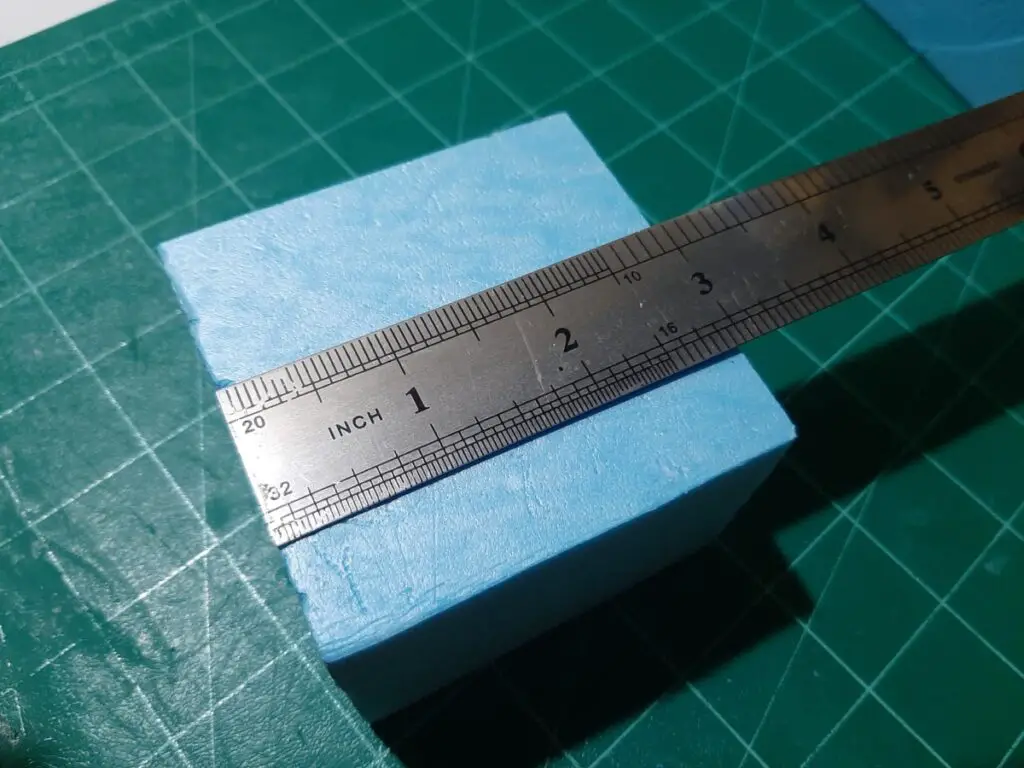
Once we have made our first cut we need to turn the foam 90 degrees and cut it again to make our 3″ x 3″ square. At this point, it’s way too thick to be a tile so we need to turn it on its edge and cut it into 3″ x 3″ x 0.5″ tiles like so
Cut foam squares into tiles
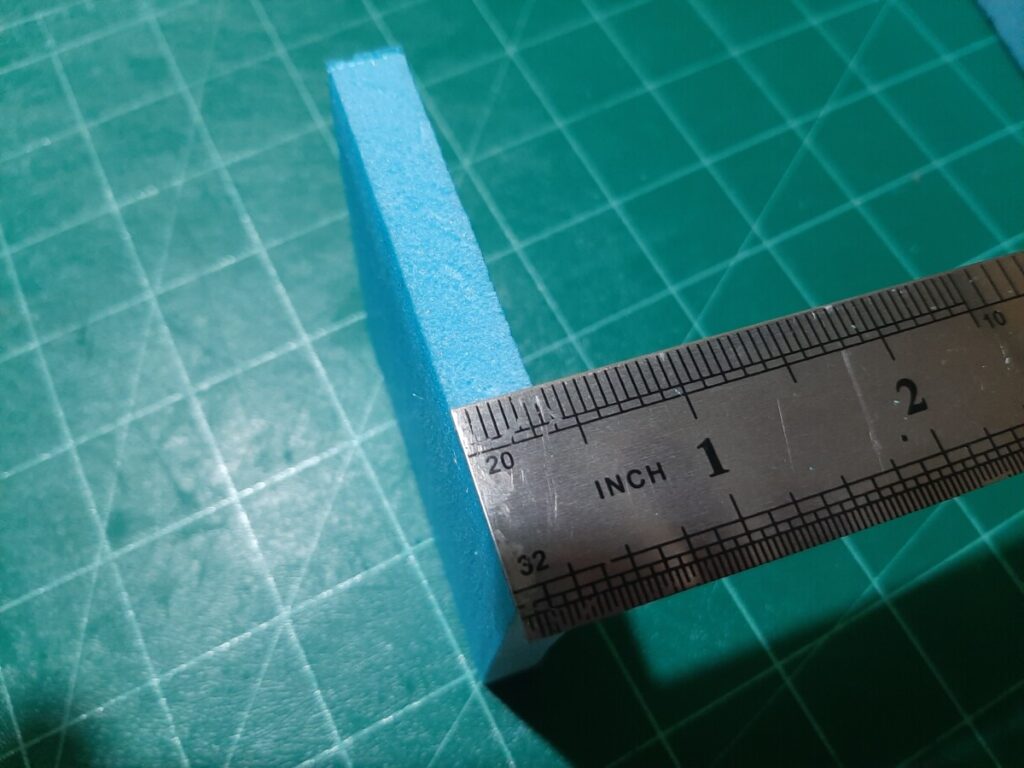
After you have turned the square onto its side cut the square into thin slices roughly 0.5″ thick (mine was a little thinner but it’s your choice)
Once you have done this with all of your tiles then it’s time to get texturing.
Measure and divide the tile into a 1″ grid for the stone side and 0.5″ boards for the wooden side
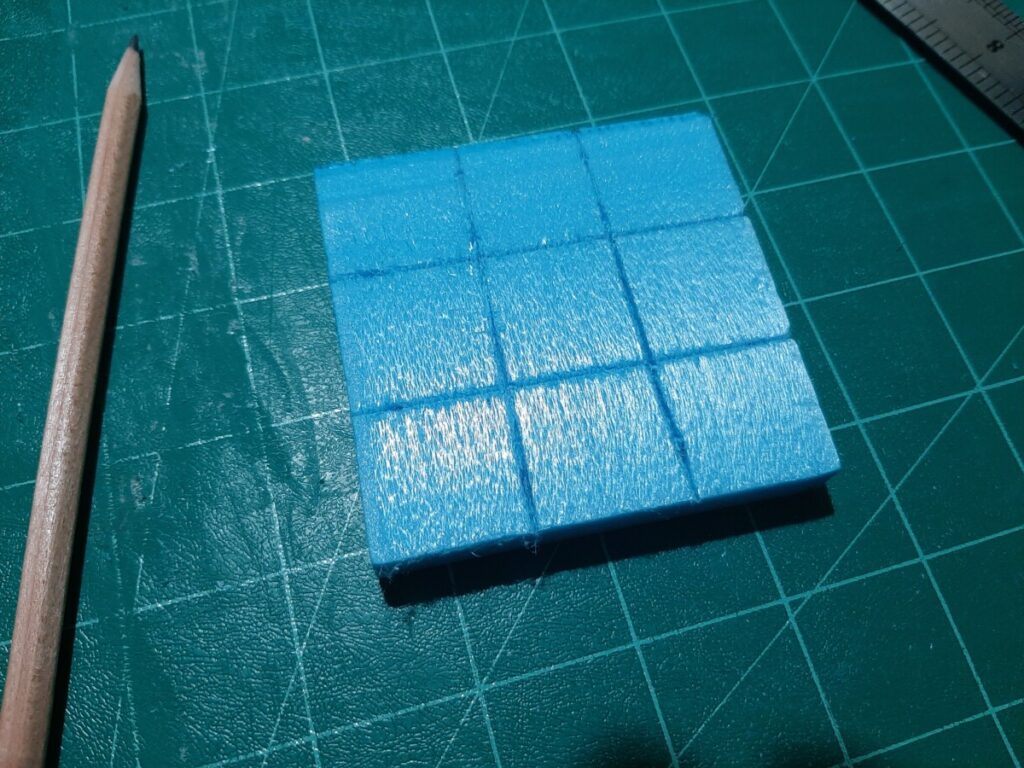
Taking a sharp pencil gently score a grid of 1″ smaller tiles into your foam tile. This will be the guide your buyers will use to move their game pieces when playing. Now we need to give the area a stone-like appearance so we will grab some aluminum foil and scrunch it into a tight ball.
Texture the stone with your foil ball
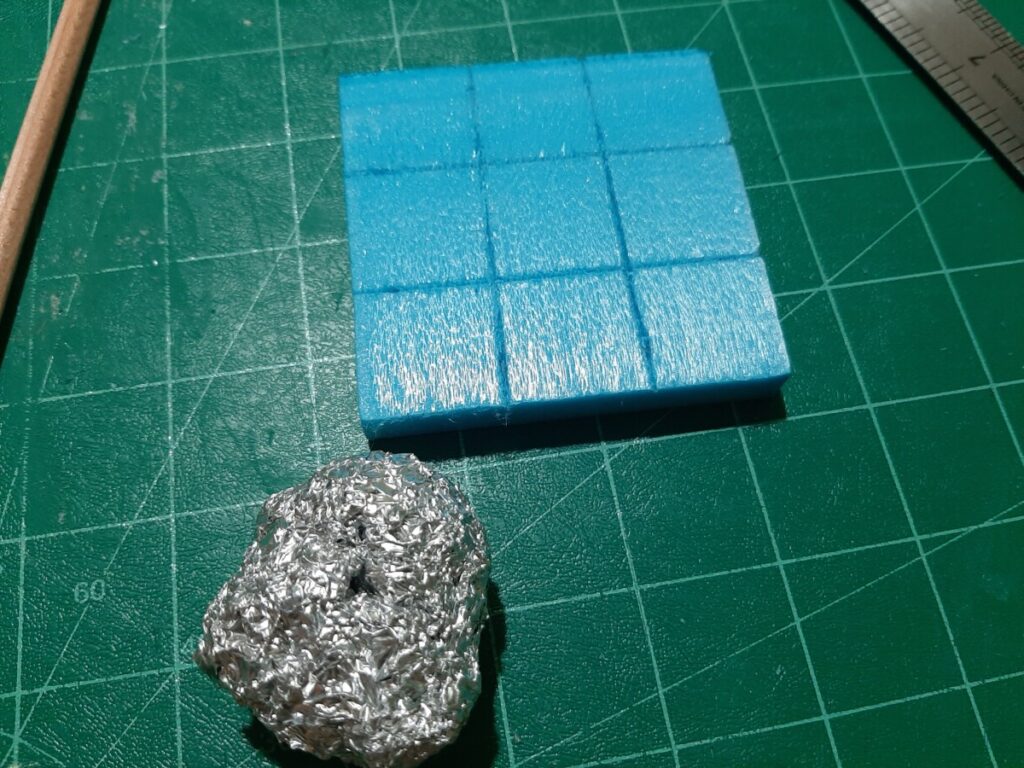
Using a rolling motion you can roughly roll the ball of foil using your palm or if you prefer, as I do, hold the ball with your fingertips and make a pressing and rolling motion to indent the foam gently, this gives you more control and allows you to see and focus on areas without blindly pressing too hard.
Add cracks and imperfections
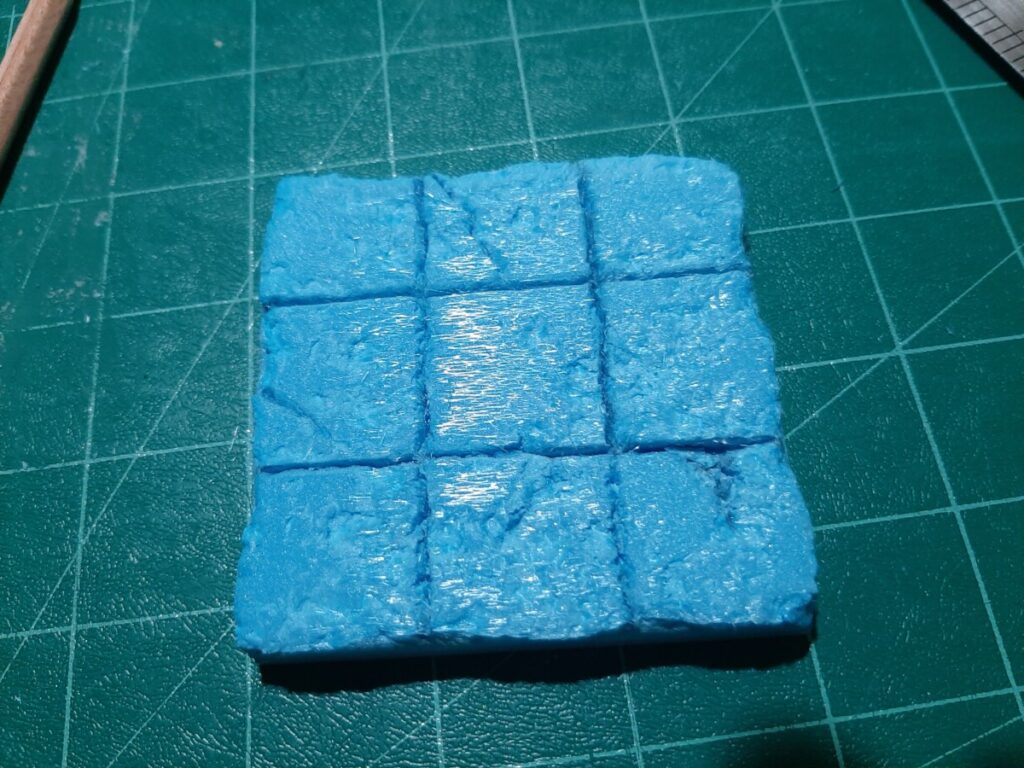
Adding cracks and imperfections with your pencil will give the tiles the appearance of age and neglect. An essential ingredient for the avid gamer who wants his tilesets to look as realistic as possible but don’t go overboard. Just a few here and there are fine.
Turn the tile over and texture the wooden side

Use a pencil to mark out a set of boards on this side of the tile, if you use a ruler or freehand it does not matter. In fact, freehand boards often look more authentic as they are uneven and mismatched looking.
Draw in the wood texture with your pencil
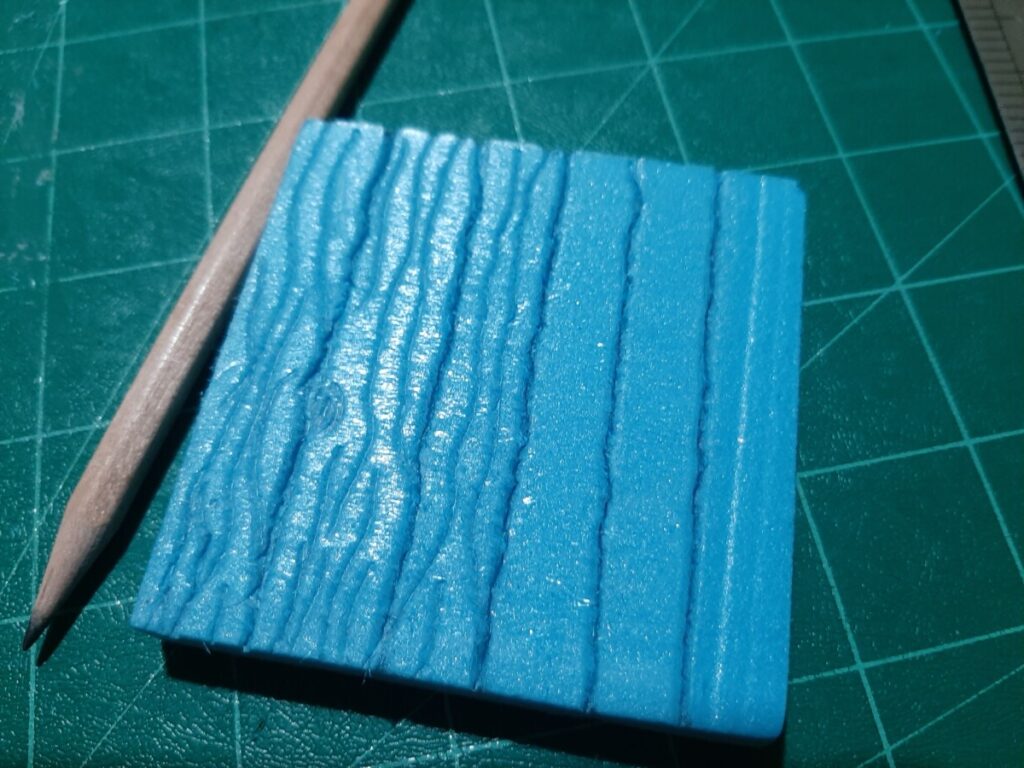
At this scale, the lines you draw in will look like woodgrain so use your creativity to add some wavy, uneven lines and even a few knotholes for good measure.
Brush lightly with a wire brush

Depending on the foam you use you can omit this step or even use it in place of drawing in the lines but I find that it can soften the drawn lines to give a softer, more natural wood grain. It’s up to you how you prefer to style your pieces so have fun and enjoy experimenting until you get the style you prefer.
Add nail holes for that extra touch of realism
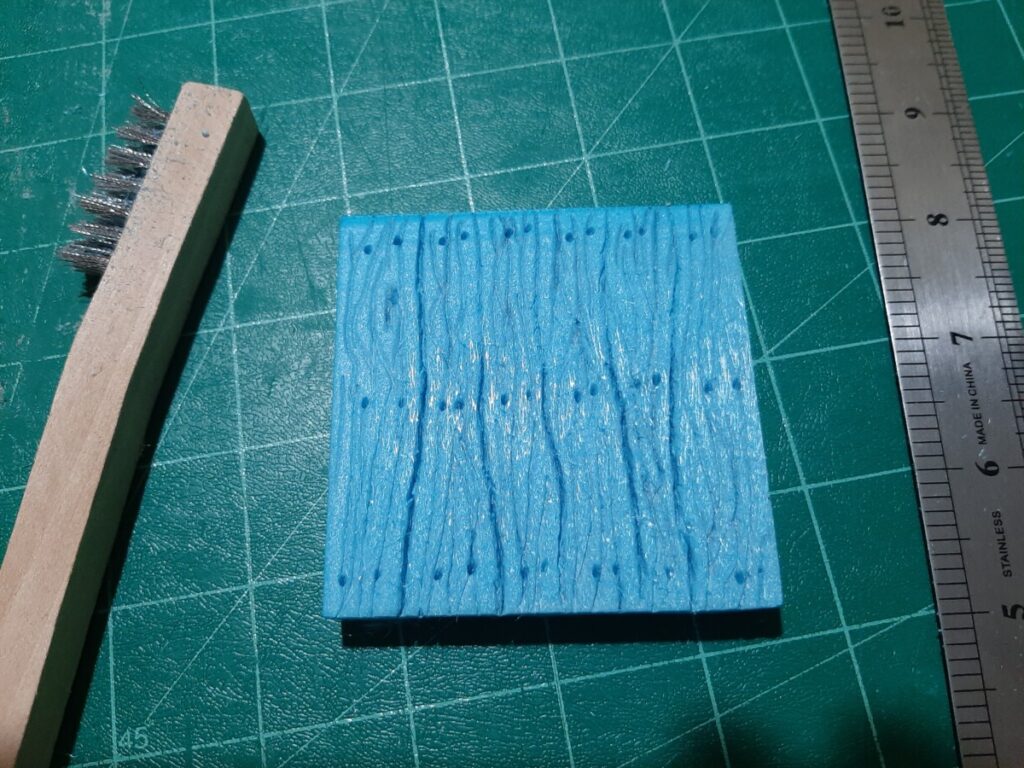
By adding rows of double indentations made with a pencil it can make it seem like the boards have been nailed down, add them unevenly, and if you have a thinner board just use a single nail hole. Once we get to painting these boards the techniques we have been looking at will really stand out and make your work shine.
Check your work and add small touched if you think it needs it
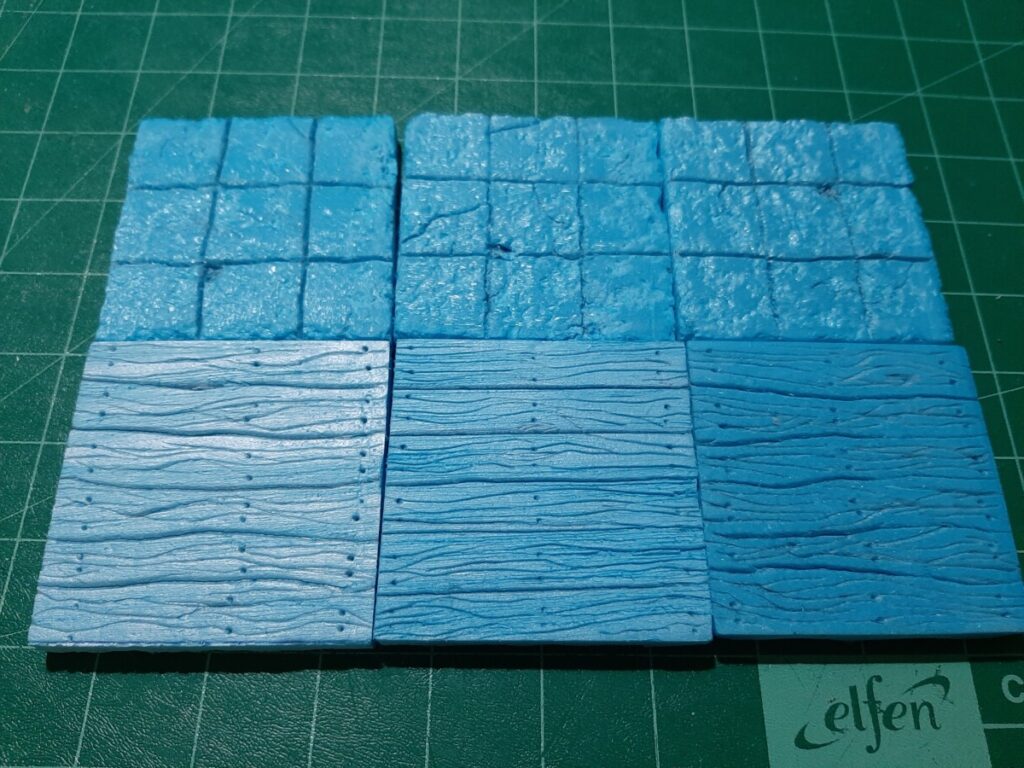
When you place the tiles down to check over the quality of your work you may feel that some of them need a little something more. Don’t be afraid to add another crack in a stone tile or add a few extra drawn lines on the wooden boards. It’s your attention to detail that will make your buyers love your work and will get them not only coming back for more but will give you glowing reviews to boot.
If you want to see me make these tiles then take a look here at my Youtube video walking through these steps.
Stay tuned for part 2 in this dungeon set-making tutorial where we will look at making walls, stairs, and doorways.
Thanks for checking this out
Looking to make money from crafts?
Click here to learn how with our step-by-step guide showing you everything you need to know.


