
A Quick Look At Glass Properties
The intriguing world of glass is something that certainly deserves exploration. Glass, you see, is not just any material. It’s an amorphous solid; a state of matter that intriguingly straddles the fence between solid and liquid.
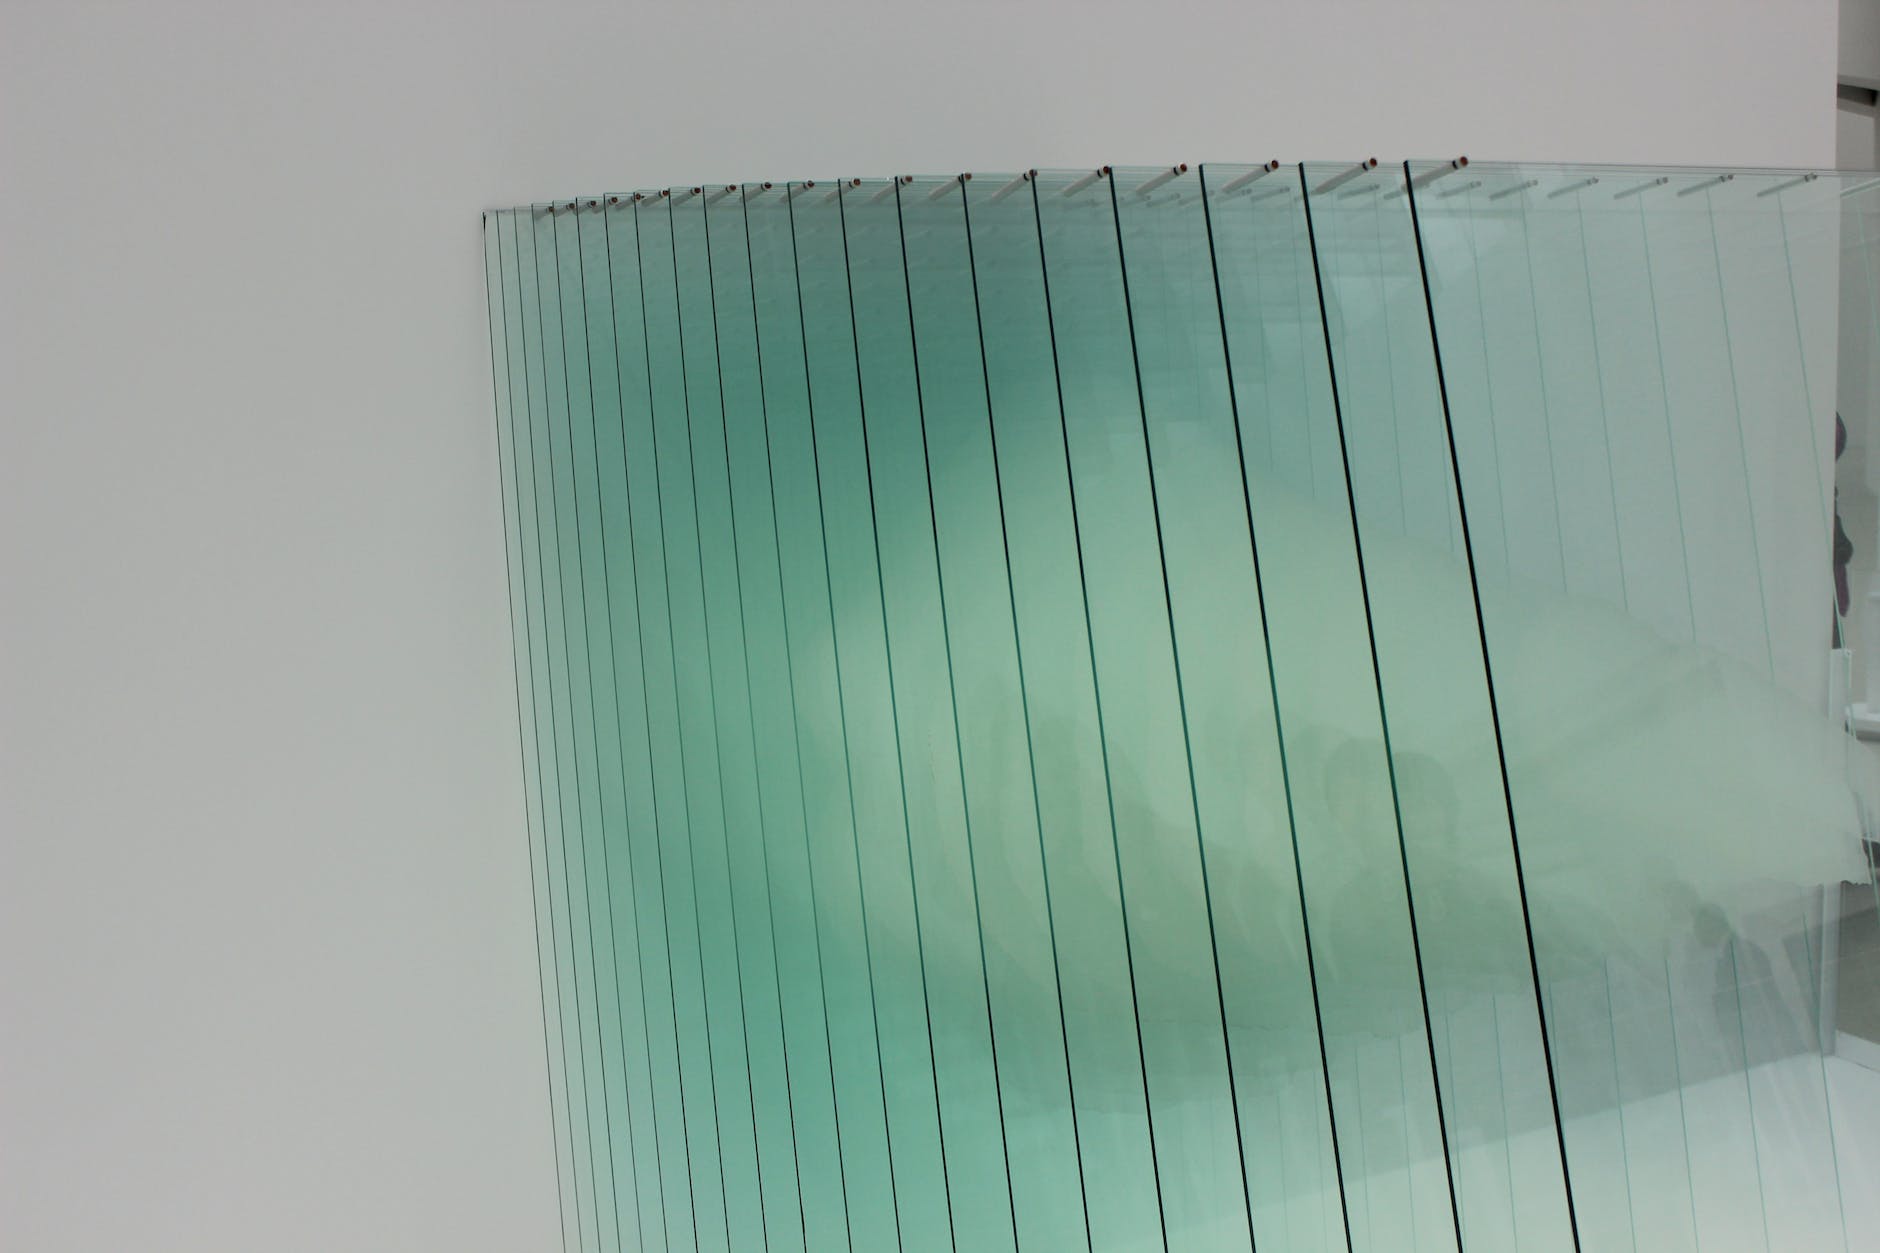
Glass embodies a fascinating phenomenon where the atoms are arranged chaotically like in a liquid but possess the rigidity of a solid. Glass captivates us with its transparency, allowing light to pass through while keeping the wind at bay.
This feature owes its existence to glass’s unique atomic structure which neither absorbs nor reflects light significantly. What’s more, it’s chemically inert, meaning it doesn’t react easily with other substances – so you can drink acidic orange juice from a glass without worry!
Moving on to another hallmark characteristic of glass – its versatility in molding. The malleability of molten glass lets artisans shape it into virtually anything under the sun – from flat panes for windows to intricate sculptures and even funky-shaped bottles!
Yet once cooled down, this same material becomes hard and brittle – handle with care! And then there are thermal properties worth talking about too!
Glass is an excellent insulator, which means heat doesn’t travel through it very well – ever noticed how your coffee stays hot for longer in a glass cup? Yet paradoxically, when subjected to extreme temperatures and swift cooling (a process called ‘tempering’), it can become heat-resistant enough to be used in cooking and baking appliances.
How is Glass Made?
The process of making glass is both an art and science, combining simple earth elements with intense heat to create something truly magical. The fundamental ingredients are quartz sand (silica), soda ash (sodium carbonate), and limestone (calcium carbonate).
Quartz sand forms the primary component of glass, giving it its basic structure. Soda ash acts as a fluxing agent, reducing the melting point of the sand, while limestone contributes to the hardness and durability of the finished product.
Now, one might wonder about obtaining these raw materials. Silica or quartz sand can be mined from beaches or riverbeds worldwide.
Limestone is a common sedimentary rock that’s readily available in most parts of the world. As for soda ash, it’s derived from sodium-rich plant ashes or can also be produced industrially from salt and limestone.
Once we have our ingredients assembled, next comes heating them in a furnace at a staggering temperature around 1700°C – hotter than molten lava! This extreme heat is vital to melt down these solid components into a viscous liquid state that we can later mold into varying glass shapes.
During this heating phase, one thing we need to keep an eye on is ensuring an even temperature throughout. The furnace’s design should maintain continuous heat circulation so all parts of our mixture reach that critical melting point simultaneously.
Not only does this prevent any solid lumps from forming within our molten batch but it also helps achieve a uniform consistency in our final glass product. Speaking about consistency brings us neatly to our next step – stirring, which may sound like quite the domestic chore when you’re dealing with temperatures akin to Earth’s core!
Stirring ensures that all elements have evenly diffused throughout the batch and helps release trapped gas bubbles which could otherwise cause imperfections in your finished glass piece. Once you’ve got your molten mixture looking like some extraterrestrial soup with its incandescent glow hinting at its blistering temperature, it’s time to start molding it into the desired shape.
This can be achieved through a number of methods, from the traditional glassblowing where skilled craftsmen manipulate the molten glass with a blowpipe to modern methods like float glass technique. Comes annealing, arguably one of the most significant steps in glass-making.
Glass has a notorious reputation for its fragility, but have you ever wondered why certain types of glassware are more resistant than others? Well, that’s all thanks to careful annealing – a controlled cooling process which is crucial in removing stresses within the material and increasing its overall strength and durability.
So there you have it – from sand to spectacular beauty. The next time you raise your wine glass or peer through your window pane, take a moment to appreciate this marvelous alchemy that turns the mundane into something so mesmerizing!
Start with Quartz Sand, Soda Ash, and Limestone
Glassmaking, much like a symphony orchestra, begins with the careful selection and harmonious blending of raw materials. Picture, if you will, a seemingly unremarkable mixture of quartz sand, soda ash (sodium carbonate), and limestone. These materials might not seem extraordinary in isolation but when combined correctly under the right conditions, their unassuming states transition into something quite breathtaking.
Quartz sand is the primary ingredient in making glass. In its pure form, this crystalline mineral contains silicon dioxide — an element that forms up to 60-75% of all types of glass.
Like the bass line in a piece of music that lays down an underlying rhythm for everyone else to follow, quartz sand sets both tone and pace for our glassmaking composition. Next up on our list is soda ash or sodium carbonate.
Acting as a fluxing agent – somewhat akin to how a conductor might guide an orchestra – soda ash reduces the temperature at which the sand melts from its daunting natural state of around 1700 degrees Celsius to something more manageable at about 800 degrees. This makes it easier for other ingredients to join the ensemble and combine harmoniously.
Comes limestone—or calcium carbonate if one prefers sounding scientifically erudite—which essentially serves as a stabilizer within our symphony. It helps regulate hardness and durability while ensuring that your final product won’t dissolve in water—a crucial factor when endeavoring to create objects like glasses or jars!
Like each member contributing their unique sound within an orchestra, these elements each play an essential part within this grand composition called glassmaking. The resulting harmony yields more than merely their individual contributions; it creates something beautiful and functional—a testament to human ingenuity.
Heat the Compound
Isn’t it fascinating to think about how the clear, shiny material we call glass actually comes from stuff you’d find strewn around on a beach? That’s right! Once you have your main ingredients—quartz sand, soda ash, and limestone—it’s time to heat things up.
You see, the mix of these components needs a lot of heat to transform. Picture a colossal furnace gobbling up heaps of this sand mixture and belching out molten glass—quite the spectacle!
Now let’s get into the details. The temperatures we’re talking about here are enormously high—we’re talking about 1700 degrees Celsius or roughly 3090 degrees Fahrenheit!
Yes, you read that right; it is definitely not something you could do over your kitchen stove. This extreme heat triggers a reaction that melts our concoction down into a thick, fiery liquid ready for molding.
It’s like making cake batter but at temperatures hot enough to melt metal! The heat treatment isn’t just for show—it serves some very critical functions in our glass-making process.
Undertaking this phase at such staggering temperatures essentially strips down all the impurities within our raw materials leaving behind only pure silica which forms the base of our glass recipe. Moreover, heating causes what we chemists like to refer to as ‘de-polymerization’ and ‘re-polymerization’.
Big words indeed! Basically, under extreme heat conditions, all those tiny particles break apart (de-polymerize) then rejoin (re-polymerize) in an entirely different structure—a structure that gives birth to new properties characteristic of glass.
: throw in quartz sand with some soda ash and limestone into one end of an infernally hot furnace and voila’, out comes molten glass from the other end—a miraculous transformation indeed! But remember folks; please don’t try this at home—it’s not only tremendously dangerous but also requires specialized equipment and expert knowledge.
Stir the Molten Glass
Once our primordial concoction of quartz sand, soda ash, and limestone has achieved a fully liquid state in the blistering cauldron of the furnace, it’s time for an intervention worthy of a maestro. Stirring.
This may seem like an elementary task at first glance, but don’t let its simplicity fool you. It’s actually one of the most critical stages in the glassmaking process.
The molten glass needs to be stirred vigorously and continuously to achieve uniformity in its temperature and composition. It’s important to note that stirring isn’t as simple as churning a pot of soup at home on your stovetop.
The process demands constant attention along with skilled hands experienced enough to not only stir but also control any potential reactions or eruptions from within the fiery maelstrom. Now imagine you’re conducting an orchestra that plays not music, but a symphony of elements churning in a dance hotter than Dante’s inferno.
The glowing red mass is stirred with large iron tools known as punty rods which can withstand the extreme heat and won’t add impurities into our mixture. This stirring process helps ensure that all ingredients are well-dispersed throughout making for an impeccably even consistency.
In addition to ensuring homogeneity, another fascinating aspect is being vigilant about eliminating any bubbles trapped during this melting stage. Bubbles are typically unwelcome visitors in glassmaking -they can weaken the structure of the glass and impair its clarity- therefore, these mischievous little gas pockets must be diligently weeded out by our dutiful stirrer during this tumultuous ballet.
Continuing with our metaphorical orchestra: just as each instrument plays its part to craft a beautiful symphony, so does every step contribute towards creating flawless glass. In essence then, stirring is much like shaping the melody – it sets up the rhythm for what’s yet to come while ensuring all ‘notes’ blend harmoniously together.
Mold the Molten Glass
Molding the molten glass is where the magic truly happens. As soon as our heated mixture has achieved that sensuous, honey-like consistency, it’s time to give it shape. The process varies depending largely on what kind of end-product we’re aiming for.
From simple soda-lime glass bottles to complex glassworks, each requires different molding techniques. The most common and age-old technique is blow molding.
Picture an artisan blowing into a pipe with a glob of molten glass at the end, manipulating it into beautiful shapes with skillful precision and creativity. A mesmerizing spectacle indeed!
But not everything can be hand-blown; for mass-produced items like bottles or jars, a mold in the desired shape is used instead. Molten glass is poured or pressed into these molds, before being cooled slowly to avoid any stress points from forming.
The second paragraph might make you think that molding glass is an effortless task but let me assure you it’s anything but easy. It needs steady hands and focused attention because at this point, the molten mixture could be as hot as 2000 degrees Fahrenheit!
And remember how I mentioned slow cooling? That’s also called ‘annealing’ and it’s vital in ensuring the finished product doesn’t contain internal stresses which could cause shattering later on.
In essence, shaping hot liquid sand into beautiful transparent objects may seem like something right out of a fairytale but trust me when I say this: It involves just as much science as art! But don’t worry if this seems daunting – there’s something incredibly satisfying about seeing that blob of magma transforming under your control into something entirely new and unique.
Annealing
The final stage, called annealing, is arguably as crucial as the heat and stir stages. This process involves cooling the newly molded glass slowly to remove any stress points that could lead to cracking or breaking.
Think of it as giving the glass a well-deserved rest after a strenuous workout in the furnace. The glass is placed in a part of the furnace known as the lehr, where it’s left to bask in temperatures of about 395 degrees Celsius for approximately 14 hours.
During this time, any internal structural differences caused by variable cooling rates are evened out. This helps ensure that our glass creation has consistent properties throughout its entirety and can withstand temperature changes without cracking or shattering.
To put it simply, annealing is like sending our molten glass through a form of therapy session where it gets to iron out all its internal issues and emerge stronger and more resilient. It’s an ingenious science really; one that uses time and temperature to transform brittle structures into durable masterpieces.
After this lengthy yet vital process, we’re left with a transparent wonder ready for use in various applications – from windows that let sunshine into our homes, to lenses that help us see better or capture beautiful images. That’s why understanding how to make glass isn’t just about recognizing each component’s role but appreciating how these processes combine harmoniously together – from selecting raw materials all the way down to this last critical stage of annealing.
Conclusion
As we reach the end of our illuminating journey through the creation of glass, it’s worth taking a moment to reflect on what we’ve learned. Understanding the artistry and science behind glassmaking gives us newfound appreciation for this material, which plays such an integral part in our daily lives. From its initial unassuming elements of quartz sand, soda ash, and limestone heated at scorching temperatures, to its final elegant form achieved through meticulous molding and annealing – every step in glass making is a testament to human ingenuity.
Now that you are armed with this knowledge, your perspective when looking through a window or drinking from a wineglass will be forever changed. No longer will these items be just simple, transparent tools; rather they become silent mementoes of mankind’s ability to harness nature in profound ways.
The process may seem complex and even intimidating at first glance but remember – each piece of glass is a result of patience and precision crafted by skilled hands. The process behind making glass is as mesmerizing as the finished product itself.
It’s a combination of ancient craft skills passed down generations fused with modern technological advances. So next time you hold that crystal vase or gaze out your window panes at sunrise or sunset, take an extra moment to marvel at this wonderful material we call glass – delicate yet strong; transparent yet colorful – symbolizing humanity’s relentless pursuit for progress.
There’s something inexplicably poetic about it all – once ordinary elements transforming under heat into something extraordinary: A little like us humans don’t you think? Here’s hoping this exploration has added an extra layer of admiration for those everyday objects around us so often taken for granted.
